
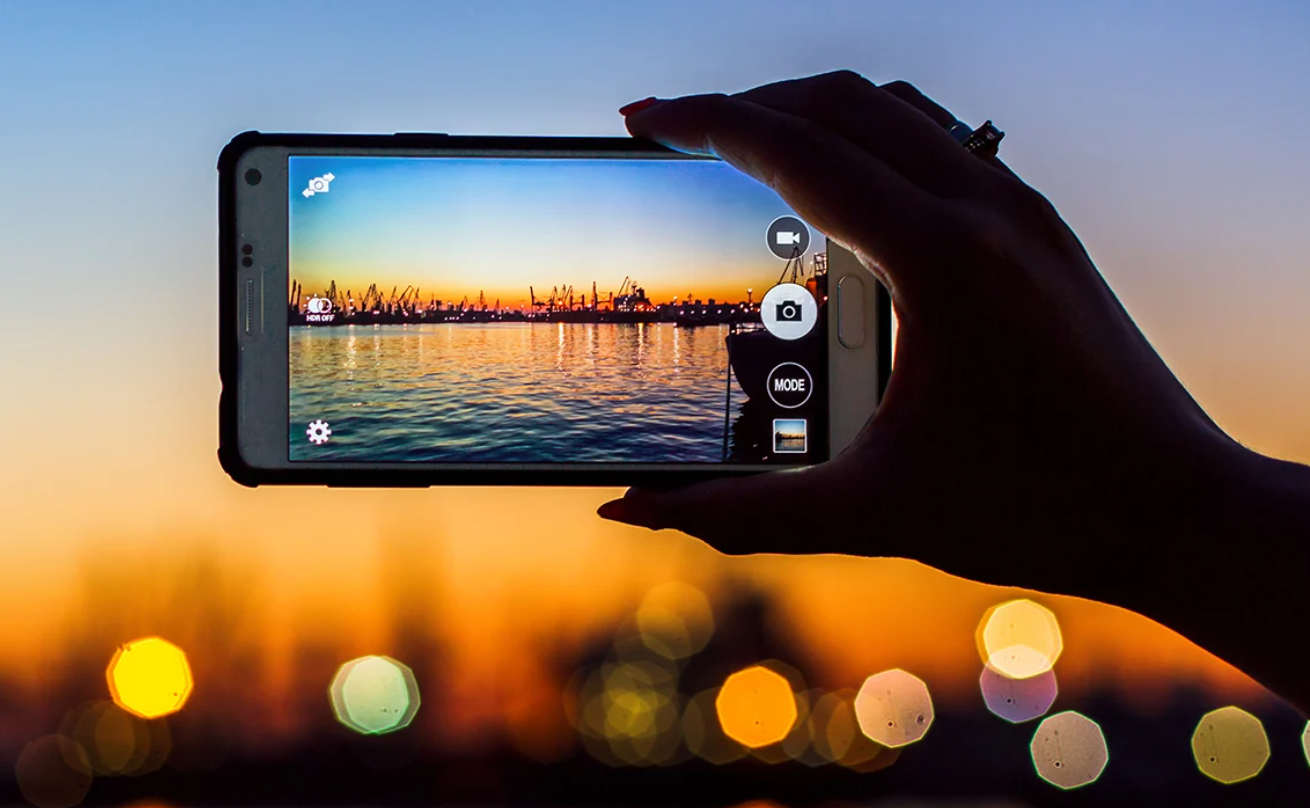
When I first started noticing that my phone camera was producing blurry photos, it caught me off guard. I had been using the same device for quite some time without any major issues, so I initially assumed it was just a one-time problem. However, the issue persisted. Important moments—casual photos with friends, quick snapshots of daily life, even documents I needed to scan—were coming out unclear. At first, I questioned my own handling of the phone. Was my hand shaking? Was I tapping the screen correctly to focus? Despite trying to be more careful, the results did not improve. That was when I realized this was not just a simple user error but something that required deeper investigation.
As the problem continued, I decided to explore possible solutions by consulting different sources. I looked through online guides, tech forums, and even visited a couple of local repair shops. Interestingly, the advice I received varied quite a bit. Some sources emphasized that the issue was most likely due to a dirty camera lens, which sounded almost too simple to be true. Others suggested software-related causes, such as camera app glitches or outdated system software. Meanwhile, one repair technician mentioned the possibility of internal hardware damage, such as a malfunctioning autofocus module. Each perspective seemed plausible, but the inconsistency made it difficult to determine the exact cause of my issue.
This difference in opinions made me wonder why the diagnoses varied so much.
After thinking it through, I realized that blurry camera issues can stem from multiple factors that often overlap.
For instance, a slightly dirty lens combined with low lighting conditions can produce results similar to a hardware fault. Additionally, software glitches may temporarily affect focus performance, making it seem like a mechanical issue. Another important factor is that different users experience different environments—lighting, usage habits, and even how they store their phones—so what works for one person may not apply to another. In other words, the root cause is not always obvious, and assumptions can easily lead to different conclusions.
At that point, I decided to study the issue more systematically instead of relying solely on scattered advice. I began by testing each possible cause one by one. First, I carefully cleaned the camera lens using a microfiber cloth, making sure there were no fingerprints or dust particles left. Then, I checked how the camera behaved under different lighting conditions, comparing indoor low-light shots with outdoor photos taken in bright daylight. I also experimented with tapping to focus manually, avoiding digital zoom, and resetting the camera settings to default. In addition, I updated my phone’s software and restarted the device to eliminate any temporary glitches.
Through this process, I learned several key things. The clarity of a photo is heavily influenced by lighting conditions, and even a high-quality camera can struggle in low light without proper stabilization. I also realized how significant something as simple as a smudge on the lens can be—it can drastically reduce image sharpness without being immediately noticeable. Furthermore, I discovered that digital zoom often degrades image quality, which explained why some of my zoomed-in shots looked particularly bad.
Overall, the issue was not caused by a single major fault but rather a combination of small factors that added up.
After testing all these possibilities, I was able to narrow down the main causes in my case. The biggest contributors were a slightly dirty lens and frequent use of digital zoom in less-than-ideal lighting conditions. Fortunately, this meant that I did not need any expensive repairs. Instead, I adopted a few simple habits: regularly cleaning the lens, avoiding unnecessary zoom, ensuring better lighting whenever possible, and stabilizing the phone while taking photos.
In the end, I chose not to pursue professional repair services because the problem was effectively resolved through these basic adjustments. This decision was based on both practical results and cost efficiency. Since the image quality improved significantly after applying these fixes, there was no strong justification for spending money on repairs that might not have been necessary.
Looking back, this experience taught me that not all technical issues require complex solutions.
Sometimes, the simplest explanations—like a dirty lens or poor lighting—are the correct ones.
At the same time, it also highlighted the importance of verifying information through direct testing rather than relying entirely on external opinions. By approaching the problem step by step, I was able to identify the real causes and resolve them effectively.